

In 2012, Roofing Contractor magazine reported that more than four billion square feet of TPO single-ply roofing had been sold in North America over the previous five years alone. Today, single-ply roofs, whether TPO or PVC, continue to be a popular choice for both contractors and building owners. That popularity has led to a wealth of “best practices” compiled by contractors with years of experience in the field. Here are just a few of their tips:
1. Take the Time to Prep the Roof Surface
Not surprisingly, singly-ply roofing systems work best when they’re installed on a clean surface. Before you begin installation, thoroughly sweep the roof to remove dirt and other debris, cut out any blisters present on the existing roof, and repair any holes or cracks with non-shrink grout. Strongly encourage the building owner to purchase a roof insulation board or an approved separation sheet. It’s a small expense that goes a long way in protecting their investment.
2. Read the Manufacturer’s Instructions
Different manufacturers have different installation requirements. Even if you’ve been using the same vendor for years, manufacturing materials and processes sometimes change. This can be anything from the amount of overlap required between different sections to special precautions for working in extreme temperatures. In addition, some manufacturers specify that the membrane itself should be cleaned before welding, depending on how long it has been exposed.
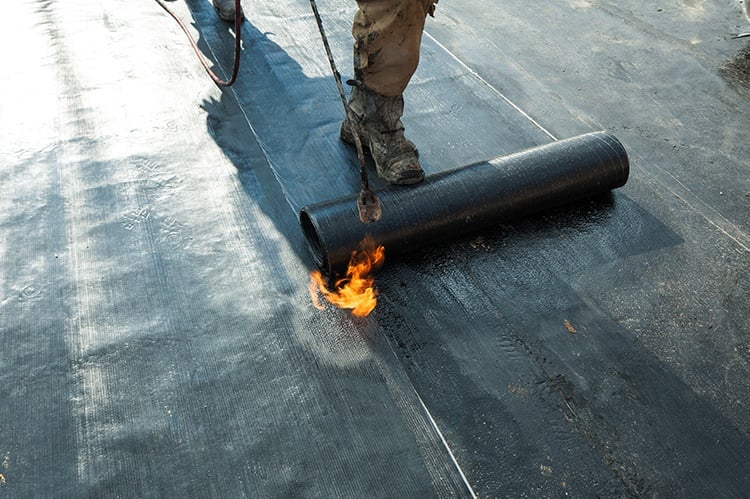
3. Repair or Replaced Scorched Sections of Membrane
Membranes that become overheated during the welding process won’t hold a true weld. Cut out any burned areas, extending at least an inch beyond the damaged area on all sides. Then weld another piece of membrane over the hole, overlapping by at least three inches. Weld as normal, allowing for 1 ½ inches of weld width.
4. Adjust for the Weather
You can get a good install during cold weather as long as you follow a couple of precautions. First, store the membrane in a warm, dry area to prevent condensation from forming. Then, thoroughly dry all surfaces before beginning installation. In addition, keep in mind that it will take longer to get a proper weld in low temperatures or high humidity.
5. Test Known Vulnerable Spots
There are a couple of potential weak spots in any installation, and it’s important to check them before wrapping up the job:
T-Joints
T-joints are areas where three membranes overlap instead of just two, and sometimes a void will develop around the middle membrane. To correct it, gently lift the topmost membrane and use hot air to fuse the two lower membranes together. Then fuse the upper membrane to the lower membranes. Look for a crease at the intersection of the three membranes – that’s your indication that you’ve got a good weld.
Seams
Test the integrity of your seams by running a round-edged, blunt tool along each seam. Any place where the tool penetrates the seam indicates a void that must be patched. (The testing process tends to sharpen tools, so be careful not to score the membrane during testing.) Another way to test your seams is to take seam samples and try to peel the layers apart by hand (they should be almost impossible to peel). Don’t forget to re-weld and seal the cut edges to keep moisture from invading the membrane.
One of the great things about single-ply roofing is that you can take advantage of lessons that other contractors have learned the hard way. For the most successful installations, follow both these tips and your particular manufacturer’s instructions.

